


The rise of plant-based milks is one of the biggest nutritional success stories of the last decade. They’ve made dairy-free living accessible and convenient for millions. But a quick glance at the ingredient list on a typical carton can reveal a less wholesome truth: a cocktail of stabilizers, emulsifiers, gums, and added sugars. While these additives are generally recognized as safe, they are included for shelf stability and consistency, not for your health. For many, they can cause digestive discomfort or simply represent a level of processing they’d prefer to avoid. This leaves health-conscious consumers with a dilemma: how to enjoy the benefits of plant milk without the unwanted extras. The solution is surprisingly simple, immensely satisfying, and far more affordable than you might think: making it yourself. DIY plant milk is a revelation. It is a pure, creamy, and intensely flavorful liquid that bears little resemblance to its thin, sometimes chalky, store-bought counterpart. It requires minimal equipment, empowers you to control exactly what goes into your body, and transforms a weekly grocery item into a simple, rewarding kitchen ritual. It’s not just about making milk; it’s about reclaiming control over your food, one nut and one seed at a time.
The process of making plant milk is a gentle lesson in simplicity. It connects you to the fundamental nature of your food—transforming a handful of raw almonds into a smooth, white beverage feels almost alchemical. There are no hidden ingredients, no mysterious processes. It’s just you, some nuts or seeds, water, and optionally, a touch of natural sweetness or flavor. This transparency is incredibly empowering. For parents, it’s a way to provide a clean, nutritious drink for their children. For those with food sensitivities, it’s a guarantee against hidden triggers. And for anyone who appreciates real food, the taste is the true reward. Homemade nut milk is richer, creamier, and carries the pure, unadulterated essence of its main ingredient. An almond milk that actually tastes like almonds, a cashew milk so luxuriously thick it feels like a treat—these are the rewards of a few minutes of hands-on effort. Furthermore, this practice is a cornerstone of a sustainable kitchen. The leftover pulp from strained milks need not be wasted; it can be dried and used in oatmeal, baked goods, or crackers, moving you closer to a zero-waste lifestyle.
The Foundation: The Basic Technique Unveiled
The universal method for creating most plant-based milks is elegantly simple and requires only a blender, a nut milk bag (or a fine-mesh strainer/cheesecloth), and a container for storage. The process can be broken down into three key steps:
- Soaking (The Softening): This crucial step is often skipped but makes all the difference. Soaking raw nuts or seeds in water for several hours (or overnight) softens them, making them easier to blend and resulting in a smoother, creamier milk. Soaking also helps to neutralize enzyme inhibitors, making the nutrients within the nuts more bioavailable and easier to digest.
- Blending (The Transformation): After draining and rinsing the soaked nuts, you combine them with fresh water in a high-speed blender. The ratio of nuts to water determines the richness; a common starting point is 1 cup of nuts to 3-4 cups of water. Blending on high for a minute or two breaks down the nuts completely, creating a creamy, opaque mixture.
- Straining (The Refining): This is where you separate the liquid gold from the solid pulp. Pour the blended mixture into a nut milk bag suspended over a large bowl. Gently squeeze and knead the bag until all the liquid has been extracted. What’s left in the bag is the pulp, which can be saved for other uses. The liquid in the bowl is your fresh, homemade plant milk.
Recipe 1: Classic, Clean Almond Milk
This is the quintessential homemade plant milk—light, slightly sweet, and perfect for cereals, smoothies, or drinking on its own.
- Ingredients:
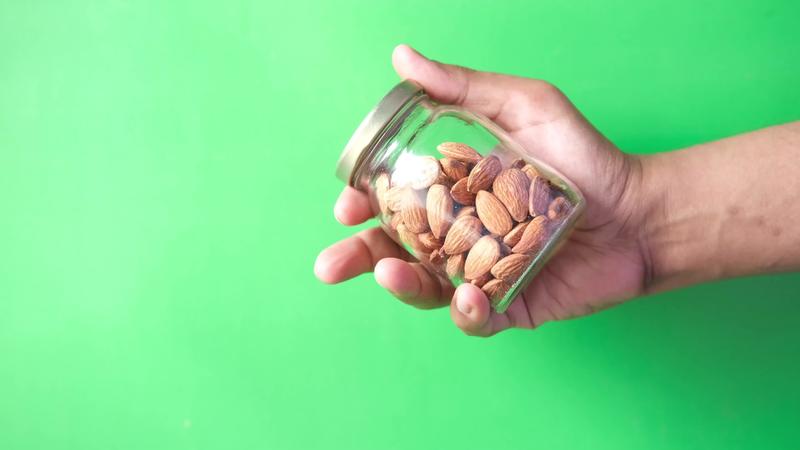
- 1 cup raw almonds
- 4 cups filtered water (for blending)
- 2 pitted dates (for sweetness, optional)
- 1 teaspoon vanilla extract (optional)
- Pinch of sea salt (enhances flavor)
- Instructions:
- Soak the almonds in enough water to cover them for at least 8 hours or overnight.
- Drain and rinse the almonds thoroughly.
- Add them to a blender with the 4 cups of fresh water, dates, vanilla, and salt.
- Blend on high for 1-2 minutes until smooth and frothy.
- Strain through a nut milk bag into a clean bowl or pitcher.
- Store in a sealed glass jar in the refrigerator for up to 4 days.
Recipe 2: No-Strain, Luxurious Cashew Milk
Cashews are the secret weapon of DIY plant milks. Because they blend so completely, there’s no need to strain them, resulting in a thicker, richer milk and zero waste.
- Ingredients:
- 1 cup raw cashews
- 4 cups filtered water
- Optional: Maple syrup, vanilla, cinnamon
- Instructions:
- Soak the cashews in water for at least 4 hours (or in hot water for 1 hour for a quicker method).
- Drain and rinse.
- Blend with fresh water and any optional add-ins on high for 2 minutes until completely smooth and creamy.
- Pour directly into a storage jar—no straining needed!
Flavor Your Journey: Endless Customization
This is where the real fun begins. Your homemade milk is a blank canvas.
- Chocolate: Add 2 tablespoons of cacao powder and an extra date.
- Berry: Blend in a handful of frozen strawberries or raspberries for a pink, fruity milk.
- Chai Spice: Add a blend of cinnamon, cardamom, ginger, and a pinch of black pepper.
- Coffee Creamer: Make a batch of cashew milk with dates and vanilla for a rich, additive-free creamer.
A Community Workshop: Let’s Make Milk Together!
There’s a special joy in a shared culinary experience, even a virtual one.
We propose a Community Milk-Making Workshop next week!
We’ll pick a day and time, and everyone who wants to participate will make a batch of their chosen plant milk at home. We’ll share our process, our results, and our creations in a dedicated forum thread. It’s a chance to learn together, ask questions in real-time, and see the beautiful variations everyone creates.
Your Vote Decides Our Next Tutorial!
To get started, we want to hear from you.
Which plant milk would you most like to see us demonstrate in a step-by-step video tutorial?
- Oat Milk (Creamy and popular, but tricks to avoid sliminess)
- Hemp Seed Milk (No soaking required, packed with omega-3s)
- Coconut Milk (From shredded coconut)
- Pistachio Milk (A uniquely delicious and vibrant option)
Cast your vote in the comments! Let’s unlock the simple, pure joy of making our own milk.


